Select or drop a image or 3D model here to search.
We support JPG, JPEG, PNG, GIF, WEBP, GLB, OBJ, STL, FBX. More formats will be added in the future.

123 Assets
4/8

Package Overview
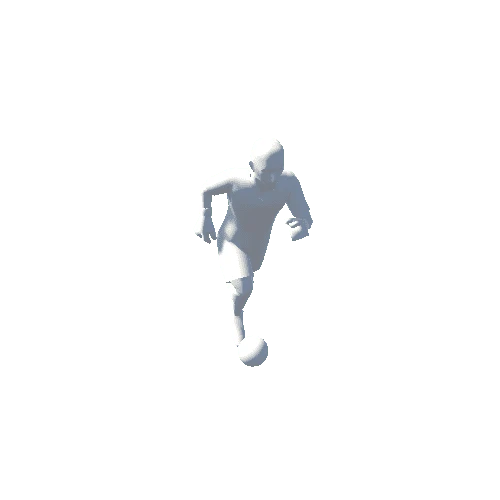
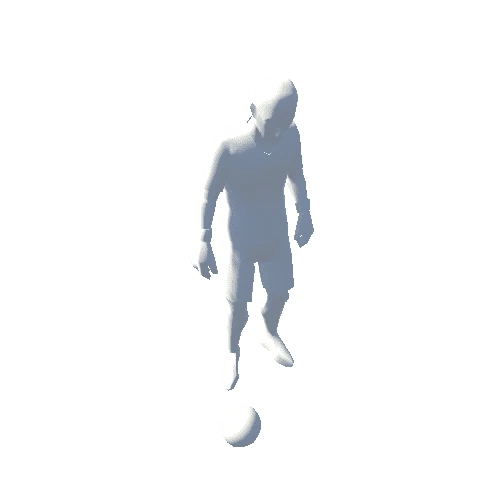
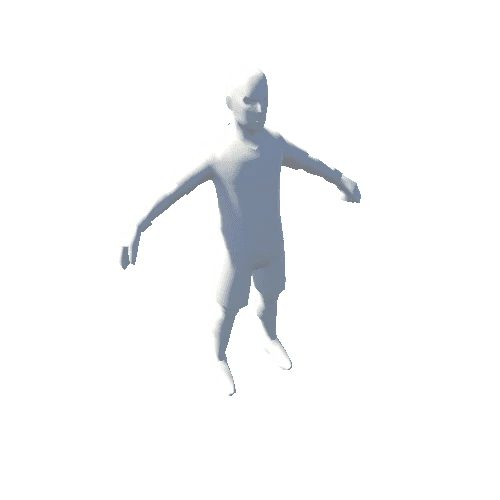
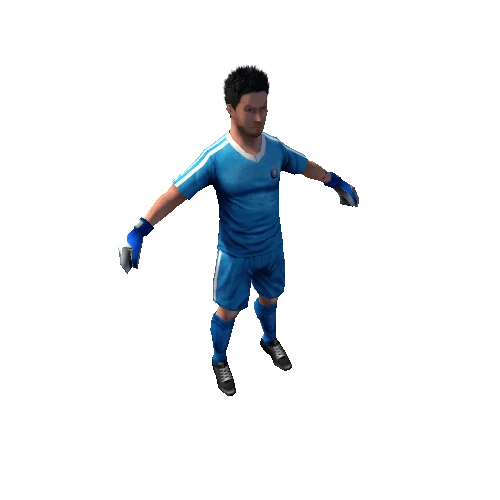
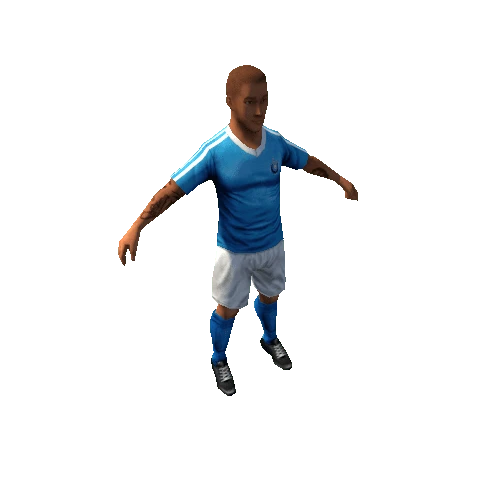
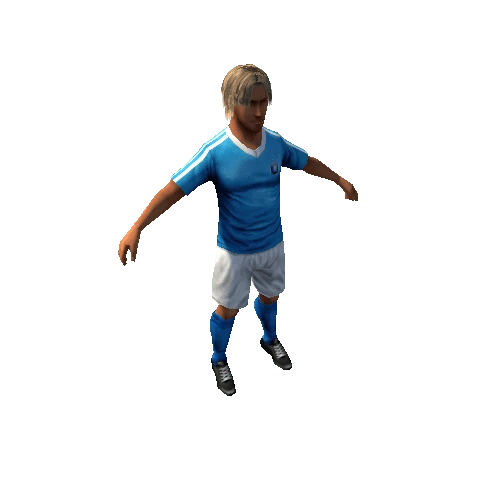
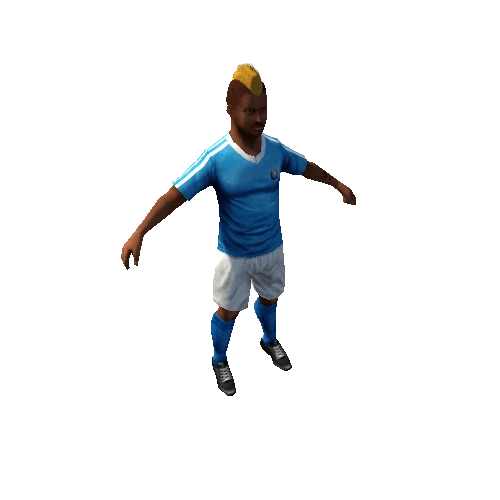
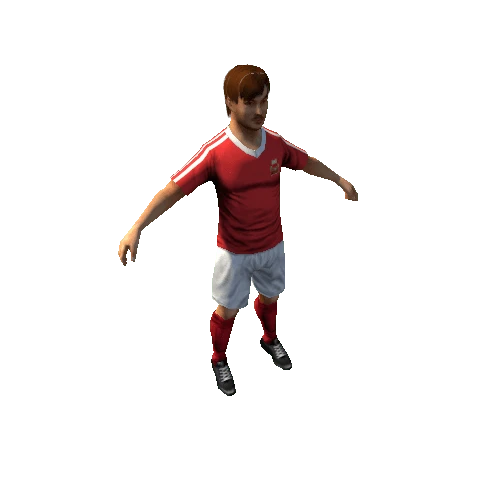
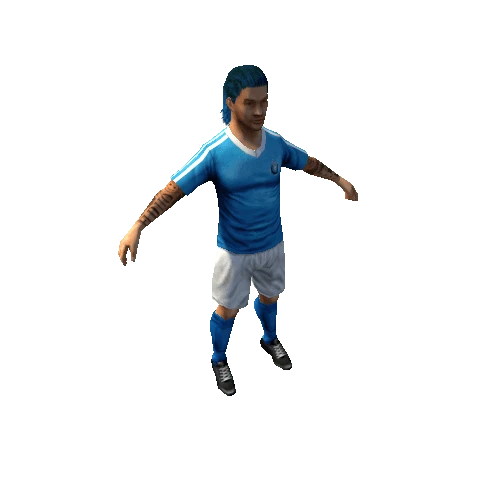
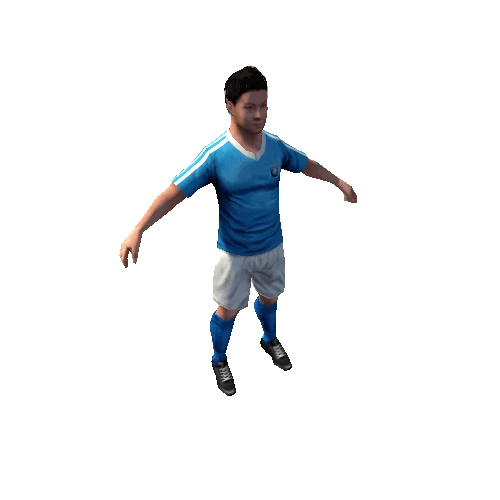
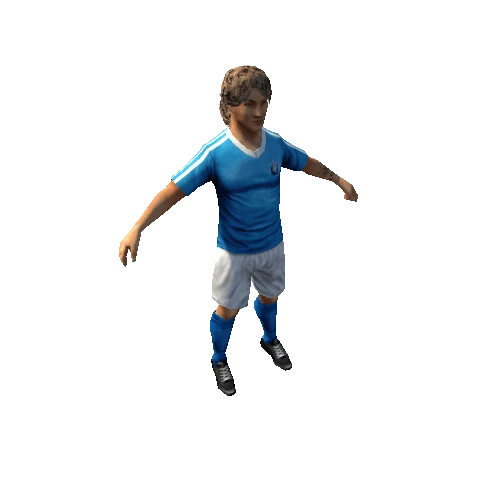
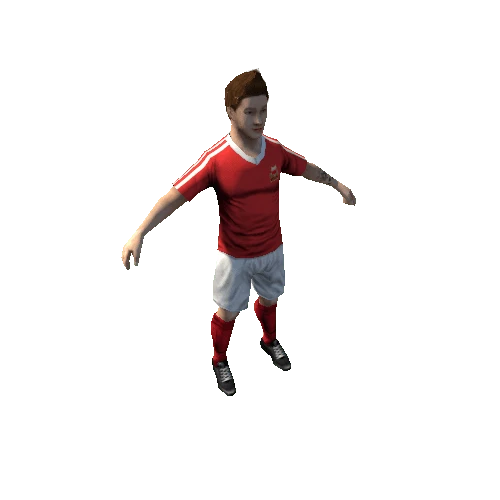
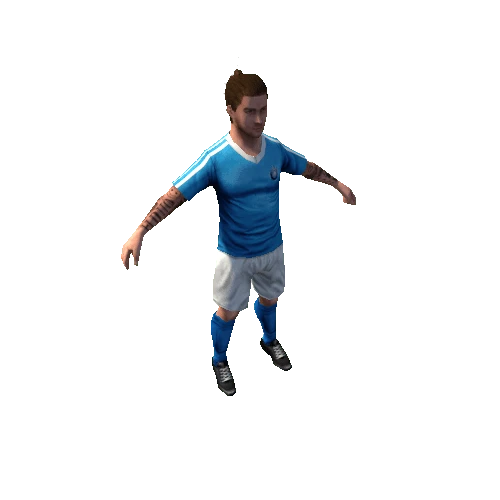
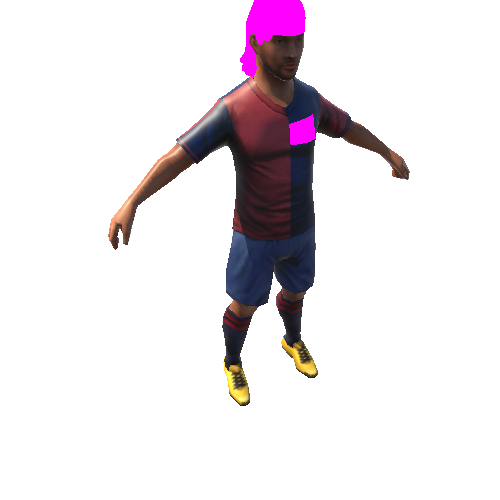
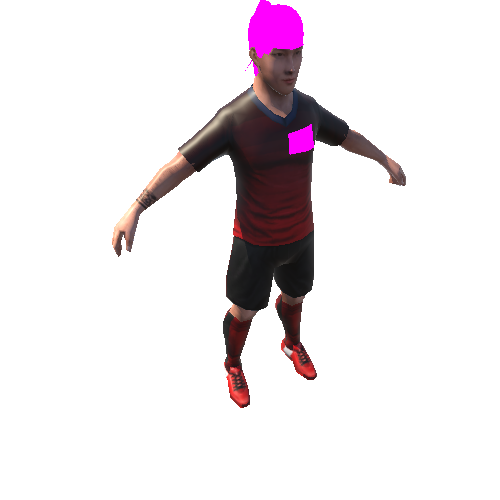
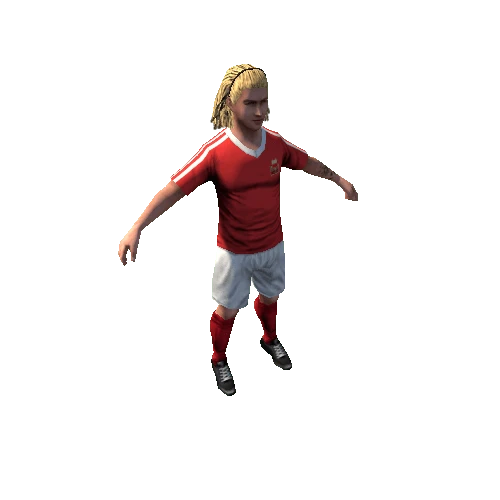
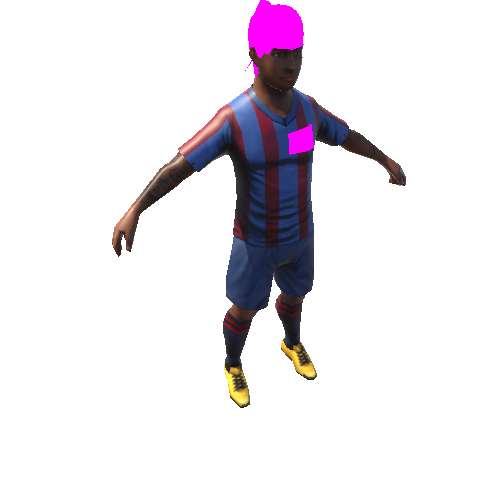
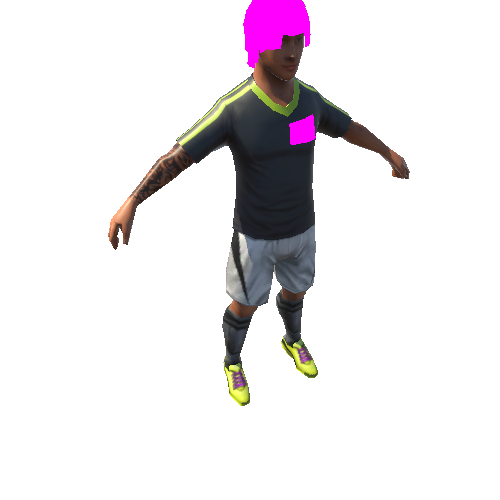
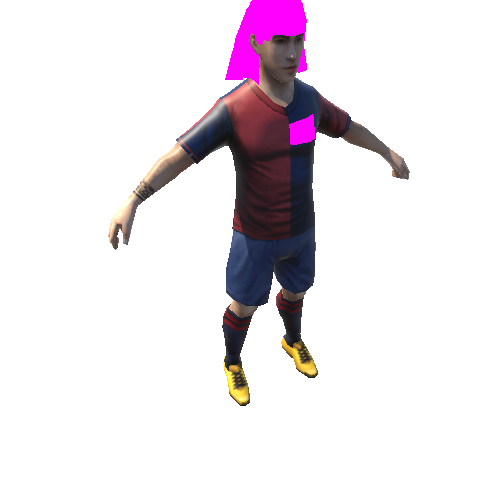
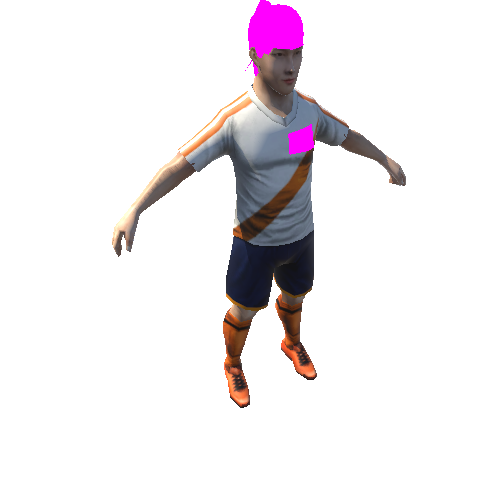
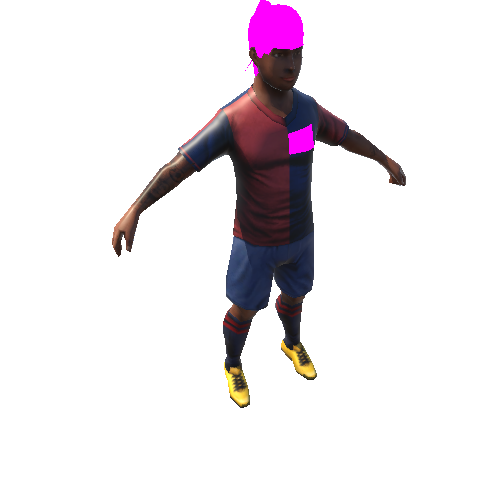
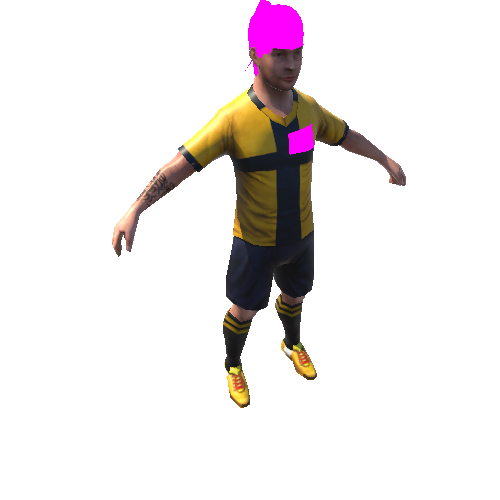
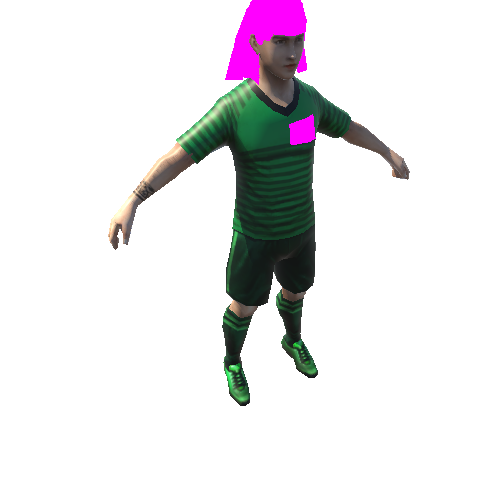
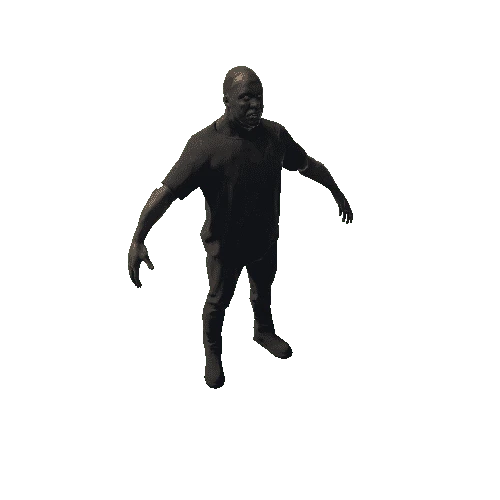
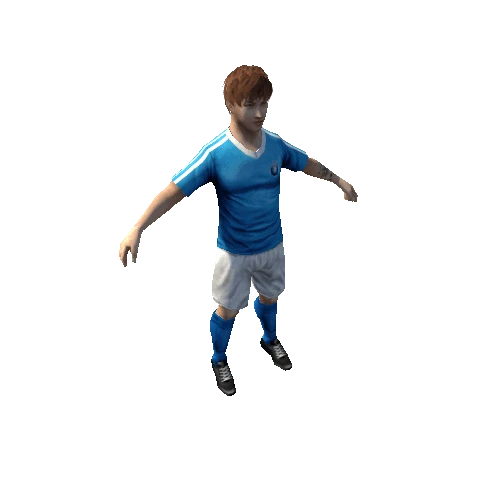
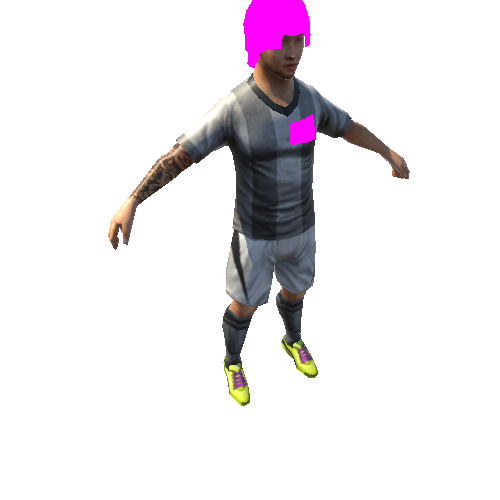
Game Asset Store now introduces soccer players and stadiums that come with high quality, realistic 3D models & rich motions! With this asset, you have all models and motions that you will need to create your own full-scale soccer game. The player models (20 x 2 teams) can be arranged by changing the combination of 10 different torsos and 19 hairstyles. 70 and more motions are included in the package, and it has both Mecanim and Legacy animation systems. The stadium model is being made available in ‘Day’ and ‘Night’ versions. In addition, each of them comes with 2 different goal models and 4 ball models. It is totally up to your ingenuity to create rich variation of players and stadiums.
==========Contents==========
[Model List (Average Polygon Counts)]
- Sample player models 20 models x 2 teams
- Player models
-- 10 different torso models (2,000 tris)
-- 19 different hair models (500 tris)
- 70 different motions
- Stadium model (9,000 tris) 1 type x Day/Night
- Goal models (5,000 tris) 2 types x Day/Night
- 4 different Ball models (180 tris)
[Motion List]
- 3D_45_in …45-degree Turn in
- 3D_45_out …45-degree Turn out
- 3D_90_in …90-degree Turn in
- 3D_90_out …90-degree Turn out
- 3D_135_in …135-degree Turn in
- 3D_135_out …135-degree Turn out
- 3D_180_turn …180-degree Turn
- 3D_back_head_finsh …Jump & Back header
- 3D_back_head_start …Back header
- 3D_back_run …Run backward
- 3D_ballstop …Ball stop
- 3D_dash …Dash
- 3D_falling …Fall
- 3D_fk_kamae …Free kick stance
- 3D_GK_bear …GK Holding the ball
- 3D_GK_down_catch …GK Squat to catch
- 3D_GK_front_catch …GK Catch in front
- 3D_GK_kamae …GK Ready position
- 3D_GK_kick …GK Kick the ball forward
- 3D_GK_over_throw …GK Over throw
- 3D_GK_sidecatch_up …GK Dive sideways to catch/ Upper
- 3D_GK_sidecatch_mid …GK Dive sideways to catch/ Mid
- 3D_GK_sidecatch_down …GK Dive sideways to catch/ Lower
- 3D_GK_under_throw …GK Under throw
- 3D_guard …Mark an opponent behind facing forward
- 3D_heel …Heel
- 3D_infront …Infront
- 3D_inside …Inside
- 3D_instep …Instep
- 3D_jump_insidehead …Jump & Inside header
- 3D_jump_head …Jumping header
- 3D_wall …Wall
- 3D_kamae …Stance
- 3D_outside …Outside
- 3D_overhead …Overhead kick
- 3D_short_pass …Short pass
- 3D_run …Run
- 3D_guts …Rejoice for scoring
- 3D_shot …Shot
- 3D_sidehead …Sideways header
- 3D_sliding …Sliding
- 3D_standhead …Standing header
- 3D_step …Step
- 3D_stand …Stand
- 3D_tackle_f …Thrust a foot in front
- 3D_tackle_s …Tackle
- 3D_throw_in …Throw in
- 3D_trap_bust …Chest trap
- 3D_trap …Trap
- 3D_trap_turn_90 …Trap and 90-degree turn
- 3D_turnshot_r …Turn and shoot
- 3D_volley …Volley
- 3D_wakeup …Rise
- 3D_walk …Walk
- 3D_stagger …Stagger
- 3D_cut_wakeup …Intercept & rise
- 3D_dribble_run_lp …Run & dribble
- 3D_dribble_dash_lp …Dash & dribble
- 3D_GK_punch_mid …GK Punch in the middle
- 3D_GK_punch_down …GK Punch downward
- 3D_GK_punch_up …GK Jump upward & Punch
- 3D_GK_punch_side_mid …GK Jump in the right middle & Punch
- 3D_GK_punch_side_down …GK Jump downward to the right & Punch
- 3D_GK_punch_side_up …GK Jump upward to the right & Punch
- 3D_GK_wakeup_noball …GK Rise without the ball
- 3D_GK_wakeup …GK Rise
- 3D_wall_jump …Wall jump
- 3D_trick_00_roulette …Feint Roulette
- 3D_trick_01_elastico …Feint Elastico
- 3D_trick_02_scissors …Feint Scissors
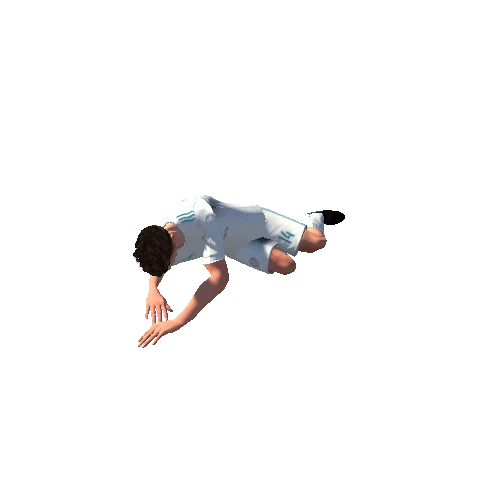
- 3D_diving_header …Diving Header
(71 and more motions)
==========How to Use/ Set up Data==========
1. How to Use/ Set up a Torso Model
You can find a torso model folder "model_***" for each players in AssetBundleResources > player > player_model. In the torso model folder, find the mesh data "model_***.fbx" and place it in Hierarchy. When you select Ploymesh> model _ *** in the hierarchy of the placed mesh data, the material for each part is displayed in Inspector> Skinned Mesh Renderer.
This section details each materials of a torso model. A material is divided into the following parts:
a) skin …Skin
b) glove …Glove for goalkeeper
c) num_Left …Decal for jersey number (Left)
d) num_Right …Decal for jersey number (Right)
e) shoe …Soccer shoes
f) sock …Socks
g) team …Decal for team emblem
h) un_up …Jersey (Top)
i) un_dn …Jersey (Bottom)
a) skin
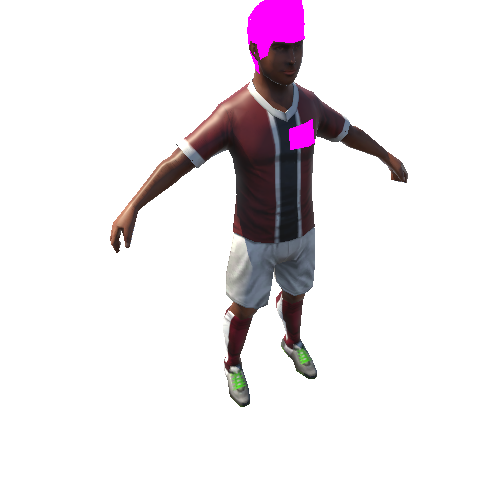
When you set up the skin, go to Inspector> Shader of the skin material to set "Legacy Shaders / Diffuse" , then assign "skin_***_**_**_***.png" as the Base (RGB)Trans(A). A skin texture is divided by face type, skin color, with/without beard, and with/without tattoo.
b) glove
When you add gloves for a goalkeeper, go to Inspector> Shader of the glove material to set "Legacy Shaders / Diffuse", then assign the glove texture "glove_***_**.png" as the Base (RGB) Trans (A). When you do NOT wish to add gloves for a goalkeeper, go to Inspector> Shader of the glove material to set "Legacy Shaders/Transparent/Diffuse", then assign "glove_000_00.png." as the Base (RGB) Trans (A).
c,d) num_Left,num_Right
Jersy numbers come with two types: "num_Left" material on the left side and "num_Right" on the right side of the jersey number. Assign a texture "un_up_***_**.png" for "Jersy (Top)" you like to use in the Inspector > Base(RBG). When you add a number on the jersey, set the Inspector > Shader of num_Left or num_Right as "DecalUV2" then go to Inspector > Decal(RGBA) to assign "num_***_**.png" as the texture of the jersey number. When you do NOT add a jersey number, set the texture of Inspector > Decal(RGBA) as "None".
e) shoes
When you add soccer shoes, set Inspector > Shader of the shoe material as "Legacy Shaders/Diffuse", then assign the shoe texture " shoe_***_**.png" as Base(RGB)Trans(A).
f) sock
When you add socks, set Inspector > Shader of the sock material as "Legacy Shaders/Diffuse", then assign the socks texture "sock_***_**.png" as Base(RGB)Trans(A).
g) team
When you add a team emblem, set Inspector > Shader of the team material as "DecalUV2", then assign the texture for Jersey (Top) you like to use in Inspector > Base(RBG). Next, assign the texture for team emblem "team_***.png" in Inspector > Decal(RGBA) and the team emblem is placed on the jersey. If you do not add a team emblem on the jersey, set the texture in Inspector > Decal(RGBA) as "None".
h,i) un_up,un_dn
The jersey material is divided into upper and lower sections: the "un_up" material is for the top and the "un_dn" material is for the bottom of a jersy. For both un_up and un_dn, set Inspector > Shader as "Legacy Shaders/Diffuse" and assign the texture for Jersey (top) "un_up_***_**.png" for the un_up material and the texture for Jersey (bottom) "un_dn_***_**.png" for the un_dn material in Inspector > Base(RBG).
Each material of a torso model is put together by parts in AssetBundleResources > player > player_model > Materials. Materials are available for each texture so you can also Drag & Drop it to apply on each part of a torso model in the Scene.
You have a total of 40 (20 x 2 teams) player model samples in AssetBundleResources > player > player_prefabs. You can use them by drag & dropping a "model_*_***.prefab" in the Hierarchy.
2. How to use a Hair Model
You can find a hair model folder "hair_***" in AssetBundleResources > player > hair_model. When you incorporate a hair model into a player model, place the mesh data "hair_***.fbx" and the torso model "model_***" in the Hierarchy. Store "hair_***.fbx" in root>Hips>Spine>Spine1>Neck>Head within the joint hierarchy of the torso model and the hair model will be successfully placed on the head of the torso model. Set Inspector > Shader as "Custom/GzTransparentDiffuseEx", then assign a hair texture "hair_***_**.png" as Base(RGB)Trans(A). Set Culling within Inspector as "None", ZWrite as "On", and ZTest as "LEqual".
You can also drag & drop them to apply onto the hair model in the Scene in AssetBundleResources > player > hair_model > hair_*** > Materials.
3. How to Use Motion
Motions are stored in AssetBundleResources > Animations. Create Animator Controller and drag & drop the FBX file of each motion onto the Animator window.
4. How to Use Stadium, Goal, and Ball
The stadium model comes with Day and Night versions. The stadium model is in AssetBundleResources > models > stadium so you can drag & drop "st_***_stadium_all.prefab" in st_*** > Prefabs onto the Hierarchy.
There are 2 different goal models and each of them comes with Day and Night versions.
The goal model "st_goal_**_*.prefab" is in AssetBundleResources > models > stadium > st_Goal > Prefabs. The ball model is "st_ball_***.prefab" is in AssetBundleResources > models > stadium > st_Ball > Prefabs. Just like the stadium model, you can use them by drag & drop them onto the Hierarchy.
This section details materials of the stadiums and the goals. Some materials of the stadiums and the goals are set so that shadows can be displayed in real time when the player models are placed. Inspector > Shader in material of each model is "Legacy Shaders / Diffuse". Textures of LightMap are included in the stadium models and the goal models. When using LightMap shader, please change Inspector > Shader of each material from "Legacy Shaders / Diffuse" to "Unlit / Lightmap". Please turn off Cast Shadows in Inspector > Mesh Renderer of each model in the Prefab "st _ *** _ studium_all.prefab" hierarchy of the stadium. Similarly, for the goal model, please turn off Cast Shadows of Inspector > Mesh Renderer in "pole *" in Prefab "st_goal _ ** _ *" hierarchy.
5. How to Set up Skies
Open the setting of Lighting from Window > Lighting > Settings and from the Skybox Material under the Environment, set the relevant sky material, "st_***_skybox".
In AssetBundleResources > Scenes, we have added scenes with Skybox Materials preset for Daytime/ Night.
[ Video ]
[ Soccer Players and Uniforms Extension Pack ] and [ Soccer Stadiums Extension Pack ] are also available.
==========Contents==========
[Model List (Average Polygon Counts)]
- Sample player models 20 models x 2 teams
- Player models
-- 10 different torso models (2,000 tris)
-- 19 different hair models (500 tris)
- 70 different motions
- Stadium model (9,000 tris) 1 type x Day/Night
- Goal models (5,000 tris) 2 types x Day/Night
- 4 different Ball models (180 tris)
[Motion List]
- 3D_45_in …45-degree Turn in
- 3D_45_out …45-degree Turn out
- 3D_90_in …90-degree Turn in
- 3D_90_out …90-degree Turn out
- 3D_135_in …135-degree Turn in
- 3D_135_out …135-degree Turn out
- 3D_180_turn …180-degree Turn
- 3D_back_head_finsh …Jump & Back header
- 3D_back_head_start …Back header
- 3D_back_run …Run backward
- 3D_ballstop …Ball stop
- 3D_dash …Dash
- 3D_falling …Fall
- 3D_fk_kamae …Free kick stance
- 3D_GK_bear …GK Holding the ball
- 3D_GK_down_catch …GK Squat to catch
- 3D_GK_front_catch …GK Catch in front
- 3D_GK_kamae …GK Ready position
- 3D_GK_kick …GK Kick the ball forward
- 3D_GK_over_throw …GK Over throw
- 3D_GK_sidecatch_up …GK Dive sideways to catch/ Upper
- 3D_GK_sidecatch_mid …GK Dive sideways to catch/ Mid
- 3D_GK_sidecatch_down …GK Dive sideways to catch/ Lower
- 3D_GK_under_throw …GK Under throw
- 3D_guard …Mark an opponent behind facing forward
- 3D_heel …Heel
- 3D_infront …Infront
- 3D_inside …Inside
- 3D_instep …Instep
- 3D_jump_insidehead …Jump & Inside header
- 3D_jump_head …Jumping header
- 3D_wall …Wall
- 3D_kamae …Stance
- 3D_outside …Outside
- 3D_overhead …Overhead kick
- 3D_short_pass …Short pass
- 3D_run …Run
- 3D_guts …Rejoice for scoring
- 3D_shot …Shot
- 3D_sidehead …Sideways header
- 3D_sliding …Sliding
- 3D_standhead …Standing header
- 3D_step …Step
- 3D_stand …Stand
- 3D_tackle_f …Thrust a foot in front
- 3D_tackle_s …Tackle
- 3D_throw_in …Throw in
- 3D_trap_bust …Chest trap
- 3D_trap …Trap
- 3D_trap_turn_90 …Trap and 90-degree turn
- 3D_turnshot_r …Turn and shoot
- 3D_volley …Volley
- 3D_wakeup …Rise
- 3D_walk …Walk
- 3D_stagger …Stagger
- 3D_cut_wakeup …Intercept & rise
- 3D_dribble_run_lp …Run & dribble
- 3D_dribble_dash_lp …Dash & dribble
- 3D_GK_punch_mid …GK Punch in the middle
- 3D_GK_punch_down …GK Punch downward
- 3D_GK_punch_up …GK Jump upward & Punch
- 3D_GK_punch_side_mid …GK Jump in the right middle & Punch
- 3D_GK_punch_side_down …GK Jump downward to the right & Punch
- 3D_GK_punch_side_up …GK Jump upward to the right & Punch
- 3D_GK_wakeup_noball …GK Rise without the ball
- 3D_GK_wakeup …GK Rise
- 3D_wall_jump …Wall jump
- 3D_trick_00_roulette …Feint Roulette
- 3D_trick_01_elastico …Feint Elastico
- 3D_trick_02_scissors …Feint Scissors
- 3D_diving_header …Diving Header
(71 and more motions)
==========How to Use/ Set up Data==========
1. How to Use/ Set up a Torso Model
You can find a torso model folder "model_***" for each players in AssetBundleResources > player > player_model. In the torso model folder, find the mesh data "model_***.fbx" and place it in Hierarchy. When you select Ploymesh> model _ *** in the hierarchy of the placed mesh data, the material for each part is displayed in Inspector> Skinned Mesh Renderer.
This section details each materials of a torso model. A material is divided into the following parts:
a) skin …Skin
b) glove …Glove for goalkeeper
c) num_Left …Decal for jersey number (Left)
d) num_Right …Decal for jersey number (Right)
e) shoe …Soccer shoes
f) sock …Socks
g) team …Decal for team emblem
h) un_up …Jersey (Top)
i) un_dn …Jersey (Bottom)
a) skin
When you set up the skin, go to Inspector> Shader of the skin material to set "Legacy Shaders / Diffuse" , then assign "skin_***_**_**_***.png" as the Base (RGB)Trans(A). A skin texture is divided by face type, skin color, with/without beard, and with/without tattoo.
b) glove
When you add gloves for a goalkeeper, go to Inspector> Shader of the glove material to set "Legacy Shaders / Diffuse", then assign the glove texture "glove_***_**.png" as the Base (RGB) Trans (A). When you do NOT wish to add gloves for a goalkeeper, go to Inspector> Shader of the glove material to set "Legacy Shaders/Transparent/Diffuse", then assign "glove_000_00.png." as the Base (RGB) Trans (A).
c,d) num_Left,num_Right
Jersy numbers come with two types: "num_Left" material on the left side and "num_Right" on the right side of the jersey number. Assign a texture "un_up_***_**.png" for "Jersy (Top)" you like to use in the Inspector > Base(RBG). When you add a number on the jersey, set the Inspector > Shader of num_Left or num_Right as "DecalUV2" then go to Inspector > Decal(RGBA) to assign "num_***_**.png" as the texture of the jersey number. When you do NOT add a jersey number, set the texture of Inspector > Decal(RGBA) as "None".
e) shoes
When you add soccer shoes, set Inspector > Shader of the shoe material as "Legacy Shaders/Diffuse", then assign the shoe texture " shoe_***_**.png" as Base(RGB)Trans(A).
f) sock
When you add socks, set Inspector > Shader of the sock material as "Legacy Shaders/Diffuse", then assign the socks texture "sock_***_**.png" as Base(RGB)Trans(A).
g) team
When you add a team emblem, set Inspector > Shader of the team material as "DecalUV2", then assign the texture for Jersey (Top) you like to use in Inspector > Base(RBG). Next, assign the texture for team emblem "team_***.png" in Inspector > Decal(RGBA) and the team emblem is placed on the jersey. If you do not add a team emblem on the jersey, set the texture in Inspector > Decal(RGBA) as "None".
h,i) un_up,un_dn
The jersey material is divided into upper and lower sections: the "un_up" material is for the top and the "un_dn" material is for the bottom of a jersy. For both un_up and un_dn, set Inspector > Shader as "Legacy Shaders/Diffuse" and assign the texture for Jersey (top) "un_up_***_**.png" for the un_up material and the texture for Jersey (bottom) "un_dn_***_**.png" for the un_dn material in Inspector > Base(RBG).
Each material of a torso model is put together by parts in AssetBundleResources > player > player_model > Materials. Materials are available for each texture so you can also Drag & Drop it to apply on each part of a torso model in the Scene.
You have a total of 40 (20 x 2 teams) player model samples in AssetBundleResources > player > player_prefabs. You can use them by drag & dropping a "model_*_***.prefab" in the Hierarchy.
2. How to use a Hair Model
You can find a hair model folder "hair_***" in AssetBundleResources > player > hair_model. When you incorporate a hair model into a player model, place the mesh data "hair_***.fbx" and the torso model "model_***" in the Hierarchy. Store "hair_***.fbx" in root>Hips>Spine>Spine1>Neck>Head within the joint hierarchy of the torso model and the hair model will be successfully placed on the head of the torso model. Set Inspector > Shader as "Custom/GzTransparentDiffuseEx", then assign a hair texture "hair_***_**.png" as Base(RGB)Trans(A). Set Culling within Inspector as "None", ZWrite as "On", and ZTest as "LEqual".
You can also drag & drop them to apply onto the hair model in the Scene in AssetBundleResources > player > hair_model > hair_*** > Materials.
3. How to Use Motion
Motions are stored in AssetBundleResources > Animations. Create Animator Controller and drag & drop the FBX file of each motion onto the Animator window.
4. How to Use Stadium, Goal, and Ball
The stadium model comes with Day and Night versions. The stadium model is in AssetBundleResources > models > stadium so you can drag & drop "st_***_stadium_all.prefab" in st_*** > Prefabs onto the Hierarchy.
There are 2 different goal models and each of them comes with Day and Night versions.
The goal model "st_goal_**_*.prefab" is in AssetBundleResources > models > stadium > st_Goal > Prefabs. The ball model is "st_ball_***.prefab" is in AssetBundleResources > models > stadium > st_Ball > Prefabs. Just like the stadium model, you can use them by drag & drop them onto the Hierarchy.
This section details materials of the stadiums and the goals. Some materials of the stadiums and the goals are set so that shadows can be displayed in real time when the player models are placed. Inspector > Shader in material of each model is "Legacy Shaders / Diffuse". Textures of LightMap are included in the stadium models and the goal models. When using LightMap shader, please change Inspector > Shader of each material from "Legacy Shaders / Diffuse" to "Unlit / Lightmap". Please turn off Cast Shadows in Inspector > Mesh Renderer of each model in the Prefab "st _ *** _ studium_all.prefab" hierarchy of the stadium. Similarly, for the goal model, please turn off Cast Shadows of Inspector > Mesh Renderer in "pole *" in Prefab "st_goal _ ** _ *" hierarchy.
5. How to Set up Skies
Open the setting of Lighting from Window > Lighting > Settings and from the Skybox Material under the Environment, set the relevant sky material, "st_***_skybox".
In AssetBundleResources > Scenes, we have added scenes with Skybox Materials preset for Daytime/ Night.
[ Video ]
[ Soccer Players and Uniforms Extension Pack ] and [ Soccer Stadiums Extension Pack ] are also available.


/Screenshots/Boy_Hat_Aimations (1)_20.webp)