Select or drop a image or 3D model here to search.
We support JPG, JPEG, PNG, GIF, WEBP, GLB, OBJ, STL, FBX. More formats will be added in the future.

334 Assets
20/21

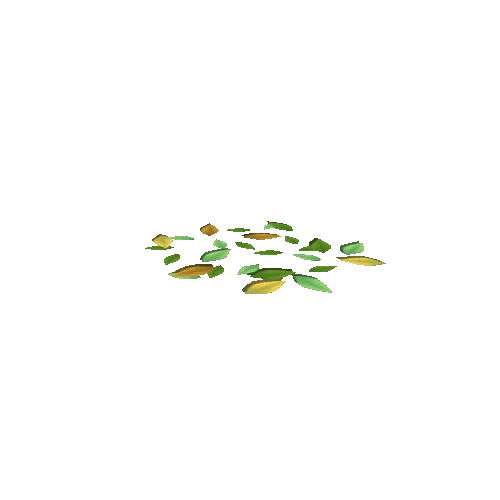
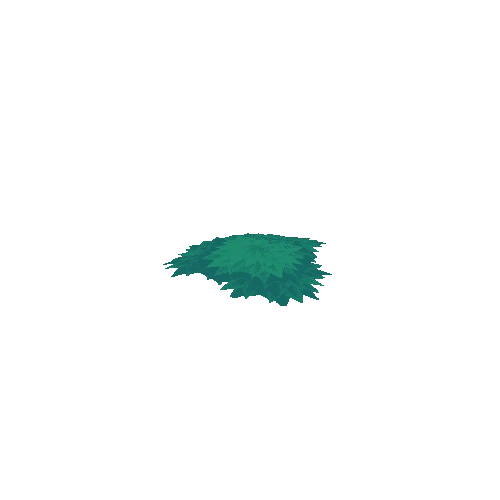
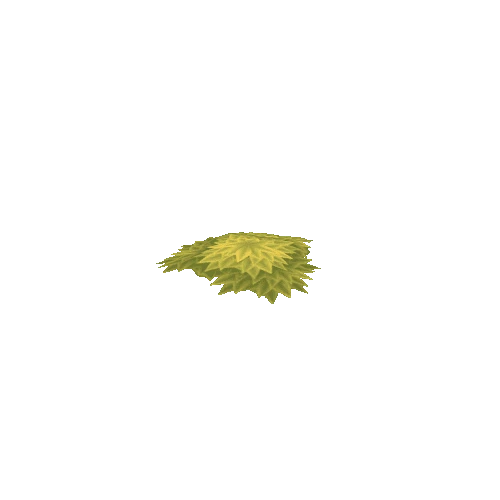
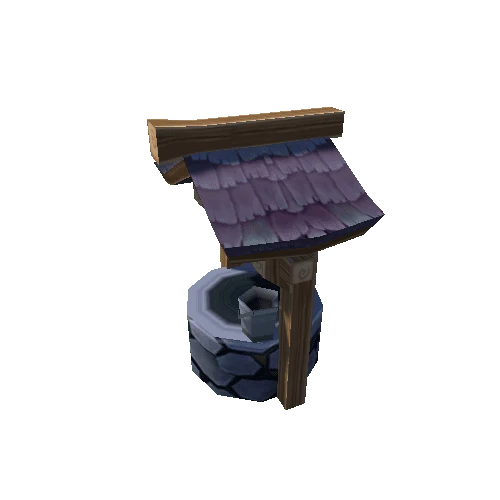
Package Overview
Textures:
4096x4096 Targa Sheet (32 Bit)
185 prefab count (including variations)
Unity Version: Unity 5.01f1
Recommended Shader: Transparent Cutout Diffuse
Overview:
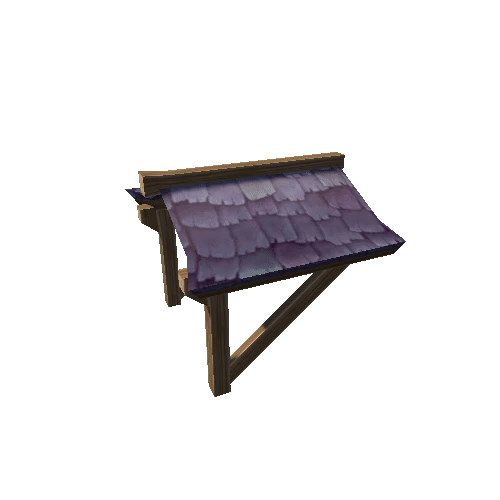
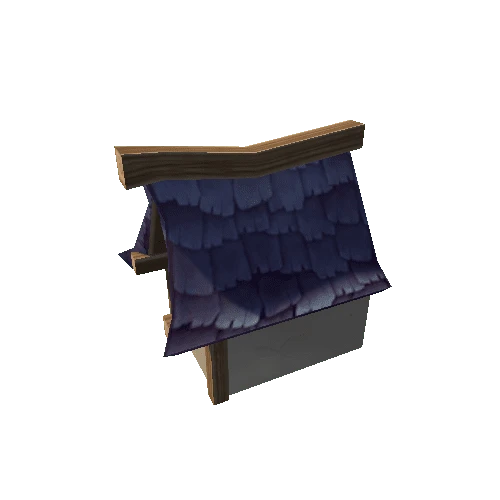
This environment pack consists of multiple floor tiles, foliage, environment props, and building pieces. Each object is built with a modular approach in mind. This quick guide is intended to give an overview of the pack as well as some useful tips to getting started on your environment.
Organization:
Each prefab adheres to a simple naming convention; Name_Descriptor_Variant_Scale. This is used to quickly find pieces within the scene. The scale number is set as a constant square, taking into account the largest side of the object in grid units for easier placement within the scene. For example, a small sized tree takes up 6x6 grid units, where a large tree takes up 8x8. Another way to categorize objects of different scales is with the descriptor section of the name. Objects with variable size will fall under Large, Med, or Small. You can quicksort objects by either size or gridspace by searching
[Desired size] t:Model
So for example, if I require a 4x4 grid model to fit within a space on my map, I would search “4x4 t:Model” to find a list of all the applicable meshes.
Tiling:
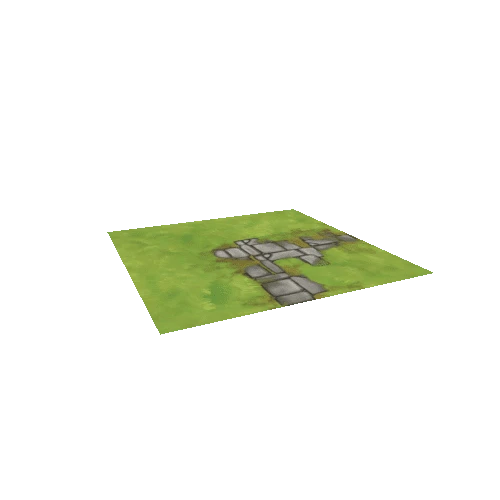
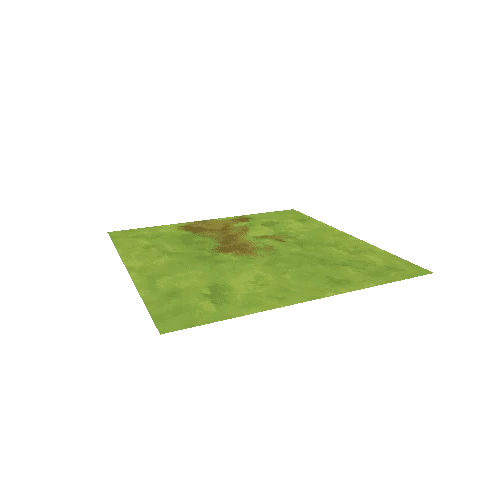
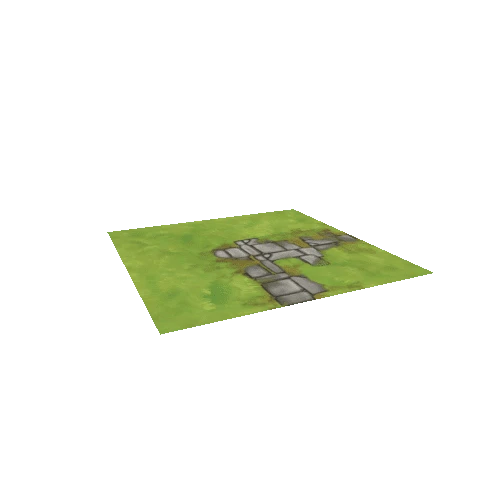
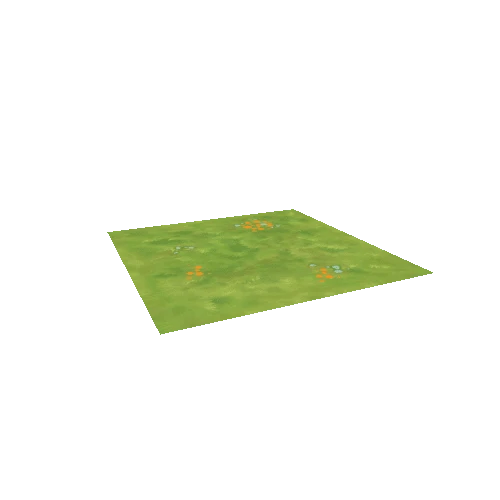
Quickly creating a varied groundplane in the scene can be done in two ways; Both day and night test scenes use a tileable ground set, consisting of 13 different texture tiles that can be combined In a number of ways. Each tile is designed be able to be rotated and scaled to -x and -y seamlessly, to help prevent visual tiling. Paths are also designed to be mixed and matched, with transition tiles between dirt path tile path, and plain grass. Pivots are always at the center of the tile, and snapped to the bottom, so using gridsnap (Ctrl), you can quickly arrange and snap tiles into position. The second method of generating a groundplane is painting terrain inside of Unity. For this, A tiling targa of the ground and grass groundplanes is included to be used with the terrain paint tool. When creating uneven terrain, certain pieces such as the cliff set ideally should be given a flat surface, for the texture to tile properly.
Memory:
Both day and night test scenes are optimized for use on pc, though the pack can easily be transferred over to mobile as well due to the relatively light geometry count. The main settings in the test scenes to be toggled off for mobile are SSAO, Bloom, Vignette – on the camera, and the Anti Aliasing value and Shadow resolution to be lowered under the scene's quality settings. Another important value to note is the Texture Quality. Depending on what platform you are targeting, and the complexity of the scene, Half Res can help performance, with a minimal graphical hit. Quarter and Eighth Res may also be used, but will have a noticeable impact on foliage.
Customization:
You can further customize your scene by editing the Texture Atlas in Photoshop. All banners are left blank, to accommodate custom banner emblems and factions. Also left open is a 1024x1024 square for any extra texture space you might need in scene, or to merge atlases with another character or environment pack. If there are no outside assets being brought in, both the ruins and rocks sit on a 1024x1024 sheet, so adding a separate color variation is a fairly straightforward way to make use of the extra space if needed. Included is a .PSD named GrandAtlas_4096_Customize. This allows for further customization of banner and house colors. Each banner/roof variant sits on its own color layer, so by double clicking the color square on each layer, you can add in any color combination you'd like for that object. This is a quick and simple way to add custom colors to your town and banners (Make sure to save as 32bit).
