Select or drop a image or 3D model here to search.
We support JPG, JPEG, PNG, GIF, WEBP, GLB, OBJ, STL, FBX. More formats will be added in the future.

59 Assets
3/4


Package Overview
Overview
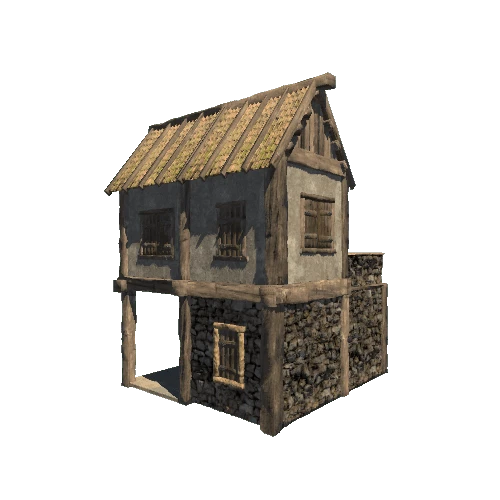
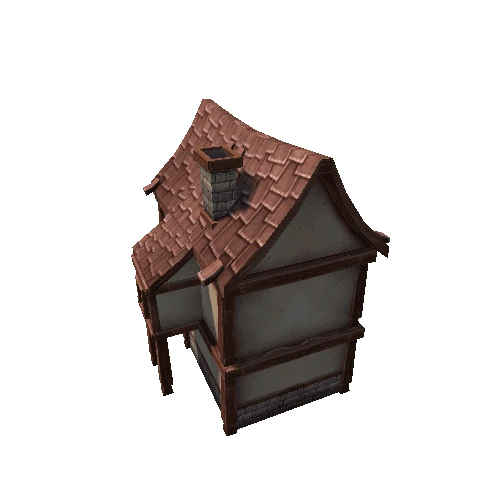
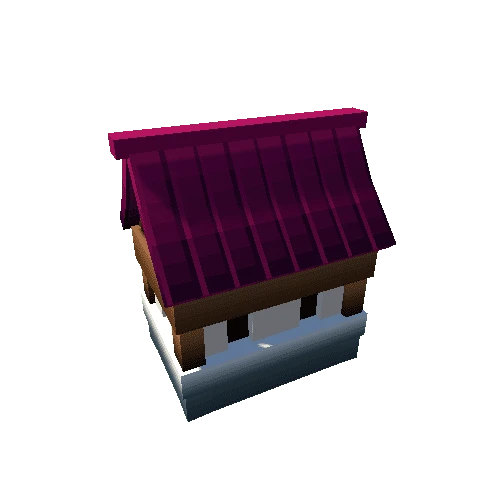
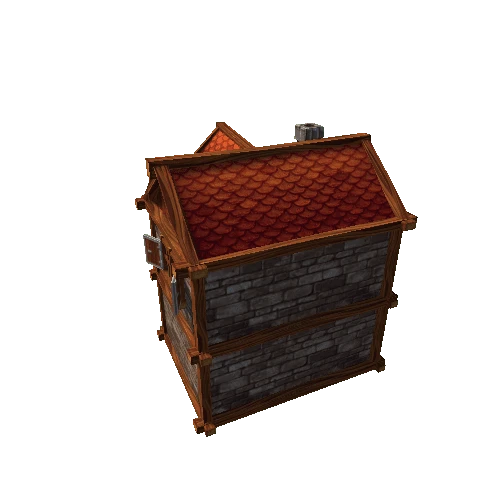
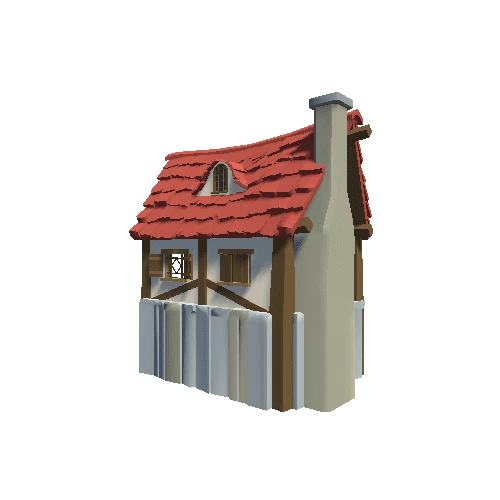
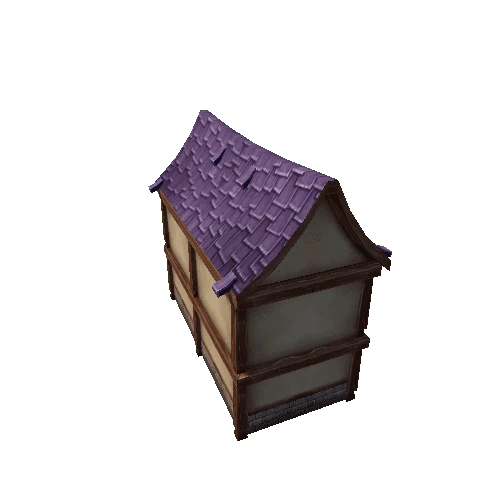
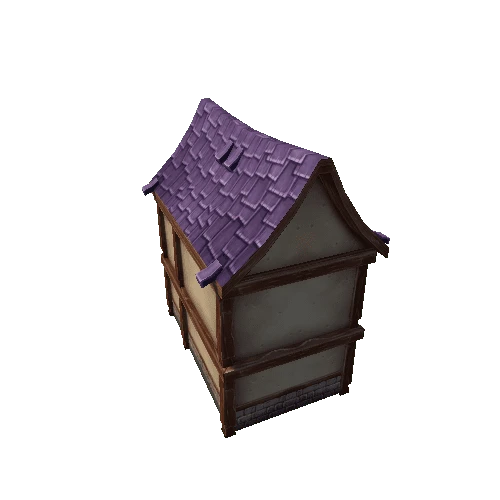
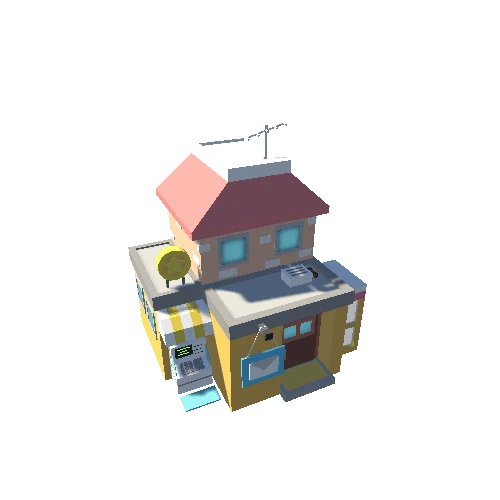
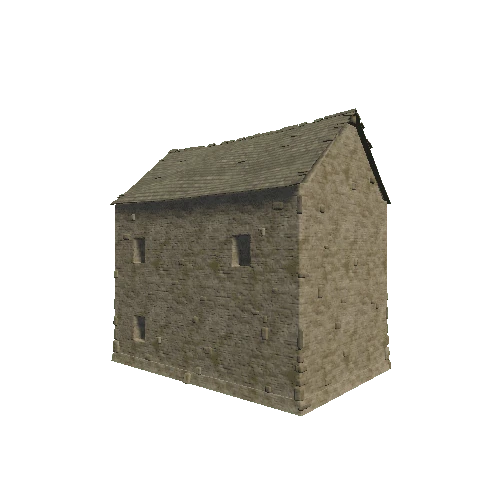
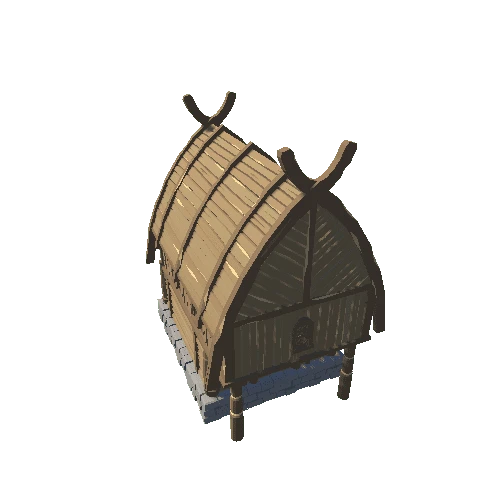
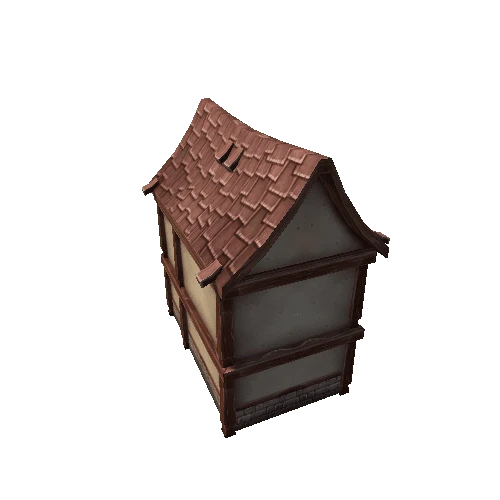
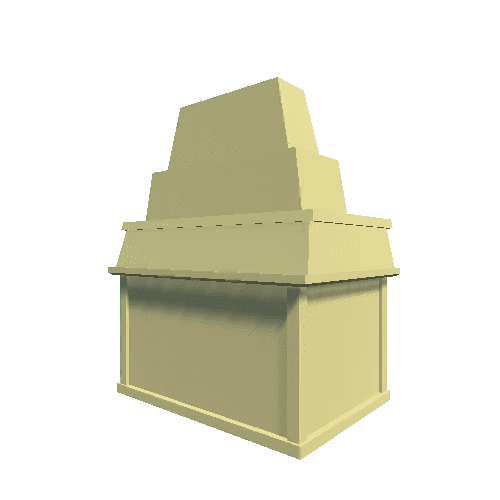
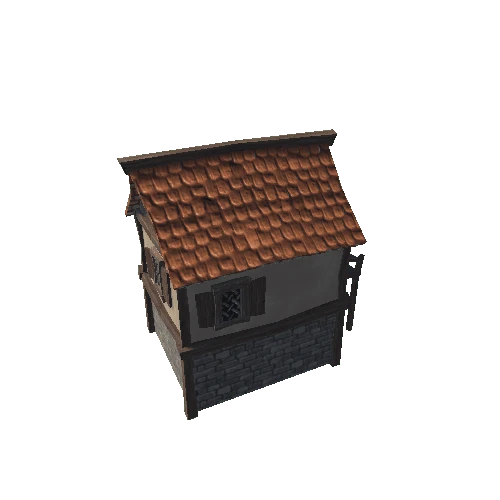
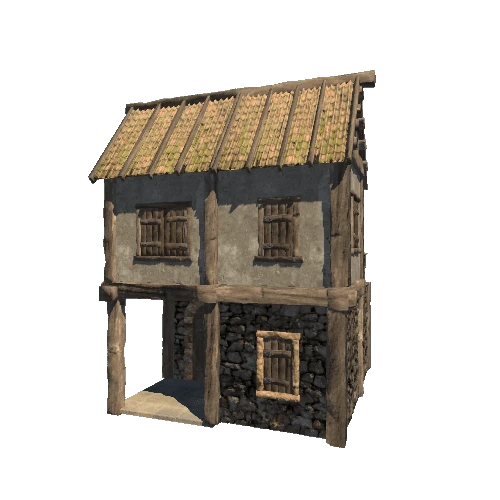
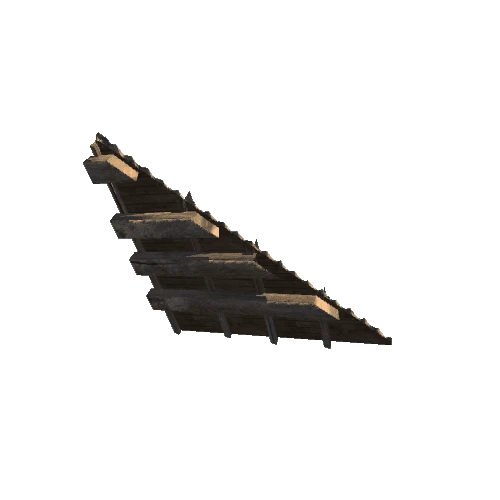
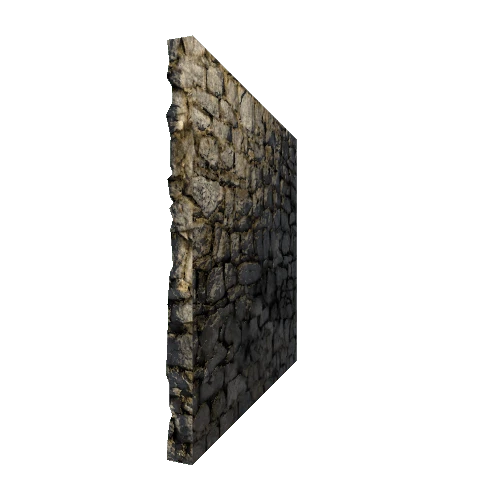
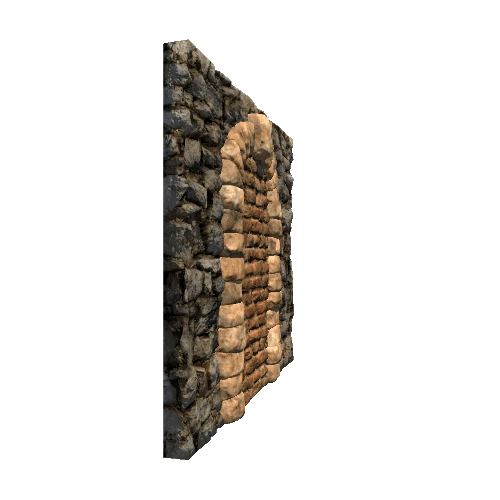
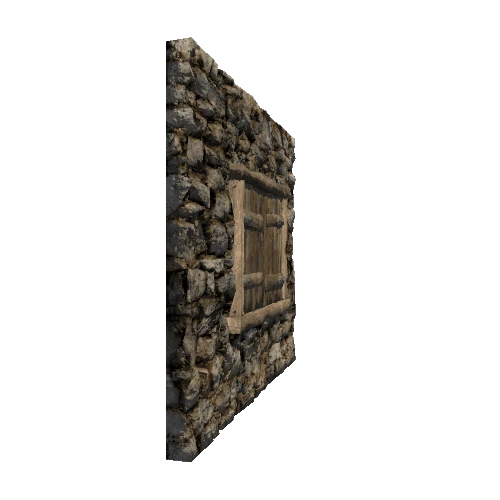
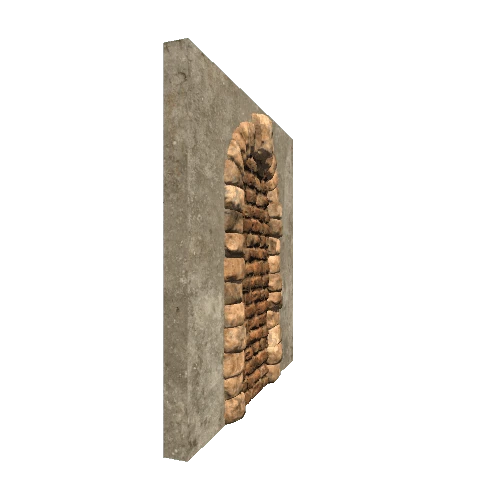
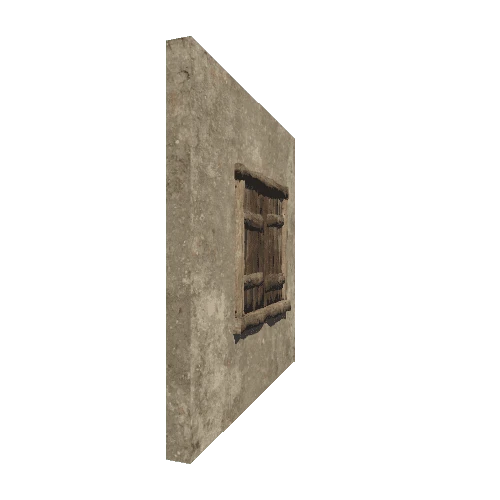
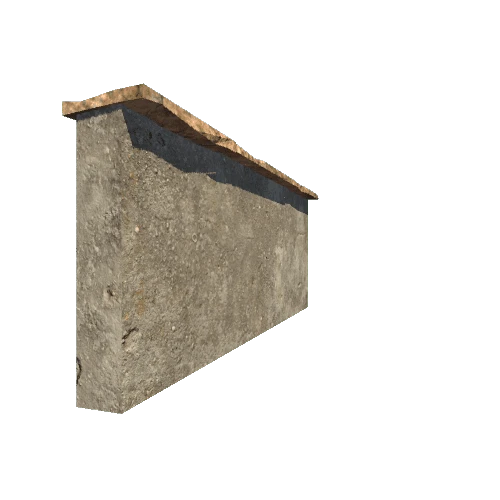
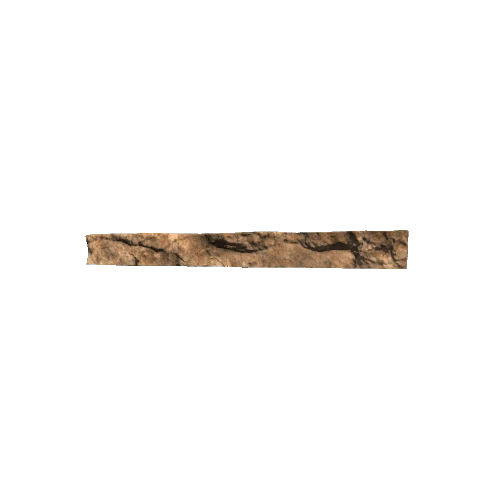
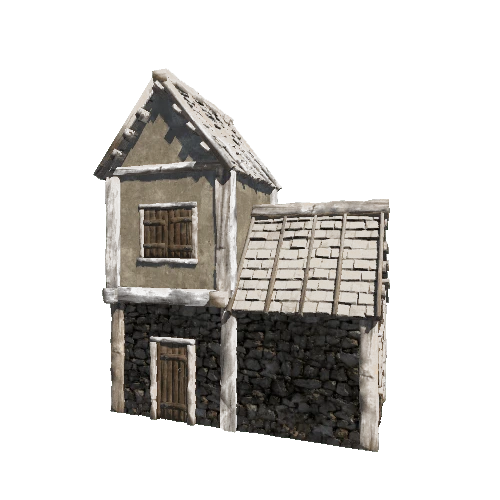
The Modular Roman / Medieval Housing Creation Kit is the fastest way to create beautiful buildings by combining individual elements and simply dragging your construction into the scene.
What's included?
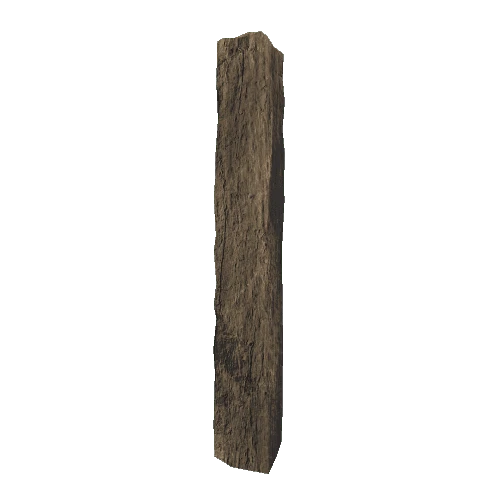
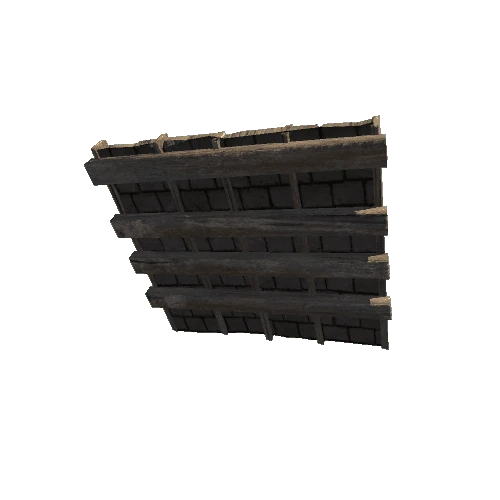
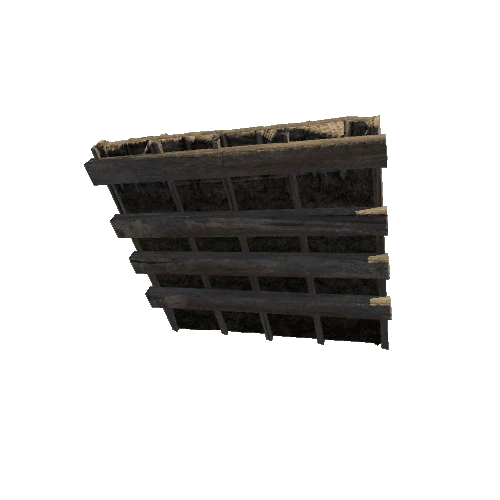
- This pack contains 53 unique numbered game items, most with 4/5 levels of detail to balance performance with visual quality.
- This kit is meant to be fully customizable, so you can adjust the materials, set the LODS distance, and you can even remove some LOD if it suits the game better.
- This kit also includes 5 buildings as an example of what you can build with these packs, but you can also make your own by simply combining basic modular elements.
- N.B. This game pack has been tested with unity URP, to make it compatible with HDR you have to manually convert all materials. Let me know if you are interested in an HDR version.
- N.B. Elements like walls are not meant to be double-sided, so they have a front face with details and a flat back face.
I want to recreate the scene in the video preview
The scene in video preview is created simply combining this kit with the Viking Village URP (https://assetstore.unity.com/packages/essentials/tutorial-projects/viking-village-urp-29140).
- import the Viking Village Kit and this kit in your project
- in the Viking Village scene disable building and props
- import the buildings in this kit and create the village
- add small props like grass and greenery
- adjust lighting, materials and post processing
Let me know If you want a video tutorial.
All the asset in Viking village kit are usable for free so you can combine it with my pack and create the scene of the preview for your own projects.
Share your result! :)
Textures
Most of the textures in this pack are under CC0 1.0 license; see Third-Party Notices.txt file in package for details.
You can find the originals at:
By default, diffuse and normal maps are in 2k, AO is 1k, I think it is the best compromise for quality / performance.
On these sites you can find the originals and use them in 4k or even 8k if that makes sense to you :)
Materials
All the materials uses the Universal rendering Pipeline lit shader, and the reason why I haven't used a custom shader is for compatibility reason.
Infact some useful tools like bakery doesn't work with custom shader, depending on your scene size in some cases is better to merge different elements into one for reducing draw calls.
As I've sayd at first, this package is thincked for being extensible and fully customizable.
LOD AND BAKED LIGHTING
Game objects have all a LOD component with 4/5 meshes depending on the case, this has been done for having a smooth transitions when switching Lods, but you can also reduce them and changing the distances.
For baked lightning, Unity by default bake only the first element (LOD0) for better comprehensions see documentation (https://docs.unity3d.com/Manual/LODForBakedGI.html).
This fact does it means that for bake the other meshes you have to use Light Probes if you want to avoid graphics issues in transition between LODS.
For what I have tested, the best result is using small scripts that you have to manually add to all LODS except LOD0.
This script is called LightmappedLOD.cs and you can find here under the MIT license:
https://github.com/laurenth-personal/LODLightmapScripts
What this script does is to apply the baked lightmap of UV0 to all the other LODS for the same game object, this is possible only if all meshes shared the same UV Lightmap.
Why this script isn't included and i have to manually add it?
- This script isn't a must, you can also use Light Probes but for what i've seen this script reach the better result.
- This script isn't mine
Warnings!
Using LODS components allows you to have nice and detailed meshes when you are close to an object and to reduce polycounts when you are far enough away, but there will always be a small jump when switching between meshes, even using the script from above because when the mesh changes, the way the light jumps over them also changes. The above solutions help reduce this jump but don't eliminate it. Especially when you are away from the object, sometimes a clever use of fog could be useful to hide this jump.
UV OVERLAP
All the meshes in the package have 2 UVS, the first one for materials and the second one for lightmap and in this one there is enought space for avoiding UVOverlapping.
UV Overlap in most cases isn't an issue but if you notice strange artifacts you should increase lightmap resolution in the lighting panel.
In my test, with a lightmap resolution of 60 texels per unit meshes doesn't have UV Overlap.
For more info see the documentation at: https://docs.unity3d.com/Manual/ProgressiveLightmapper-UVOverlap.html
Depending on the sales of this kit, I may consider increasing the number of items and adding more variations in future releases.
Let me know if my work has been useful for your projects, for any question, suggestion or support do not hesitate to contact me at my references.