Select or drop a image or 3D model here to search.
We support JPG, JPEG, PNG, GIF, WEBP, GLB, OBJ, STL, FBX. More formats will be added in the future.
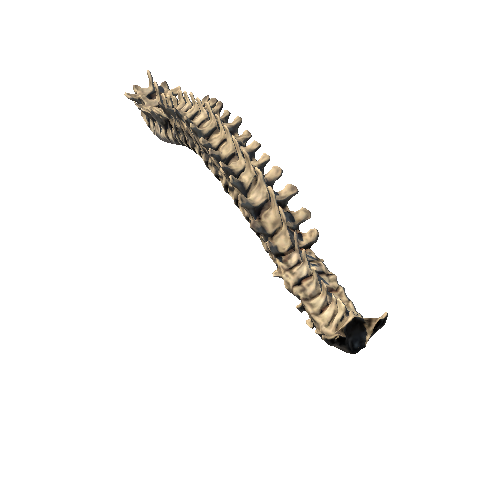
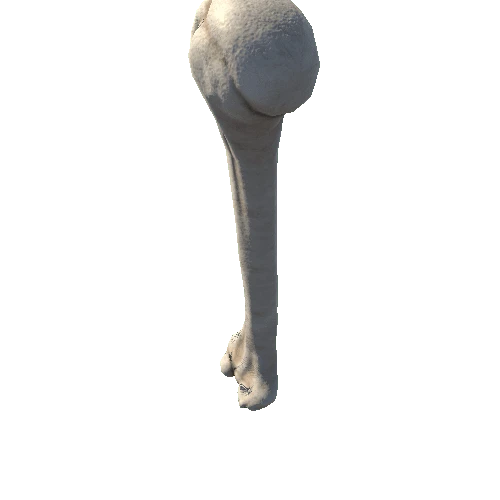
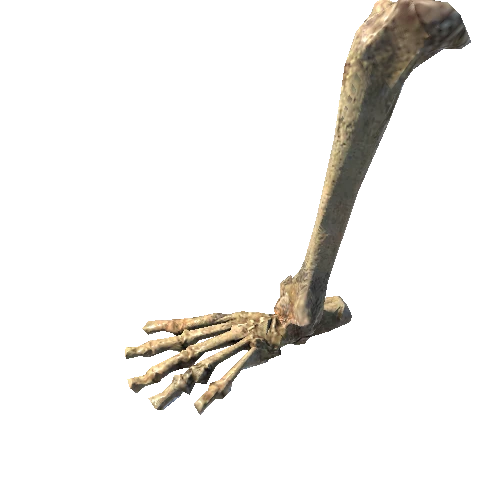
Asset Overview
I used Blender to create the base mesh of the vertebral column. I used reference images and my knowledge of anatomy to create an accurate representation of the vertebral column. I focused on creating a clean and simple mesh that would be easy to work with.
Once I created the base mesh, I used Blender's sculpting tools to add more detail and refine the model. I focused on adding details such as the spinous processes, transverse processes, and the vertebral bodies. I spent a significant amount of time on this step to ensure that the model looked as accurate and detailed as possible.
After sculpting the model, I exported the mesh to Substance Painter, where I created the textures and normal maps. I used high-resolution images of bone textures as a reference for my textures. I created the textures in 2k resolution to ensure that the model would look crisp and detailed. I also used Substance Painter's powerful tools to generate normal maps, which add an additional level of detail to the model.